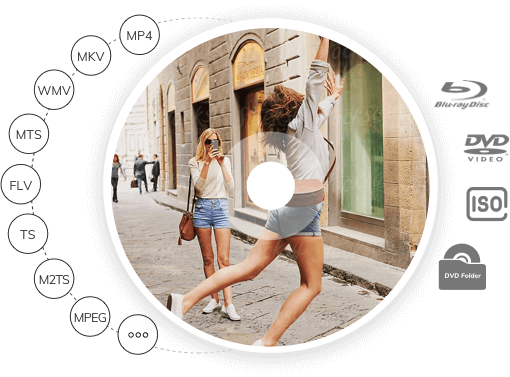
Supports over 150 video formats, including MP4, AVI, MOV, MKV, WMV, FLV, and more. Handles audio and image formats for creating multimedia slideshows.

Creates DVDs (DVD-5 and DVD-9), Blu-ray discs, and ISO files. Offers compatibility with standard DVD players and other devices.

Built-In Video Editor: Includes basic editing tools: Trim, crop, and rotate videos. Add subtitles, watermarks, and special effects. Adjust brightness, contrast, and saturation.

Customizable DVD Menus: Over 100 free menu templates available. Allows users to customize backgrounds, fonts, buttons, and layouts. Supports adding background music, text, and thumbnails.

Combines photos with background music and transitions to create photo slideshows.

Supports adding captions and personalized effects.

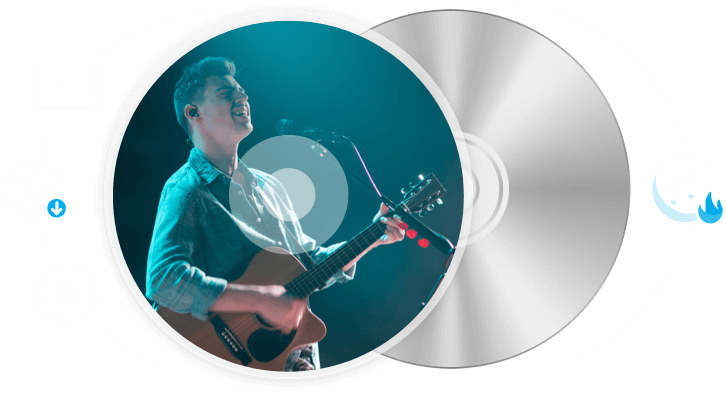

Create an incredible DVD photo slideshow with your favorite backgtound music. Turn your photos into stories on DVD and share with your family members.

Before burning a sileshow DVD, you can add music, transition effects, and captions.Also, yuo may change slide duration, arrange photos in order, and many more.
Built-in Video Player
Preview DVD videos with built-in media player.
Chapter Creator
Create chapters to your videos.
CD Burner
Burn a music CD from your favorite songs.
Video Editor
Trim and crop videos, add subttiles, etc.
Busn ISO Files to DVD
Burn ISO file to DVD for Backup.
DVD to DVD Copy
Copy DVD to ISO file or DVD folder easily.
Create Blu-ray Disc
Support burning videos to Blu-ray Disc.
DVD to Video Ripper
Rip and convert DVD to MP4, AVI, MKV and others.
Data Disc
Burn a data Disc from files.
Assuming you have downloaded DVD Creator on your PC, you may simply follow the steps and you will make a magic DVD disc in just a few clicks. Now let’s get started.
Once you’ve successfully completed the DVD Creator installing process which may take a couple of minutes, you’ll see the screen like this:
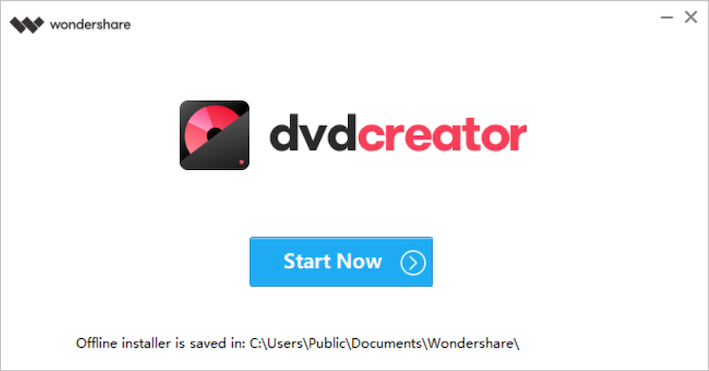
Click on “Start Now” button to enter DVD Creator’s main interface which looks like below:
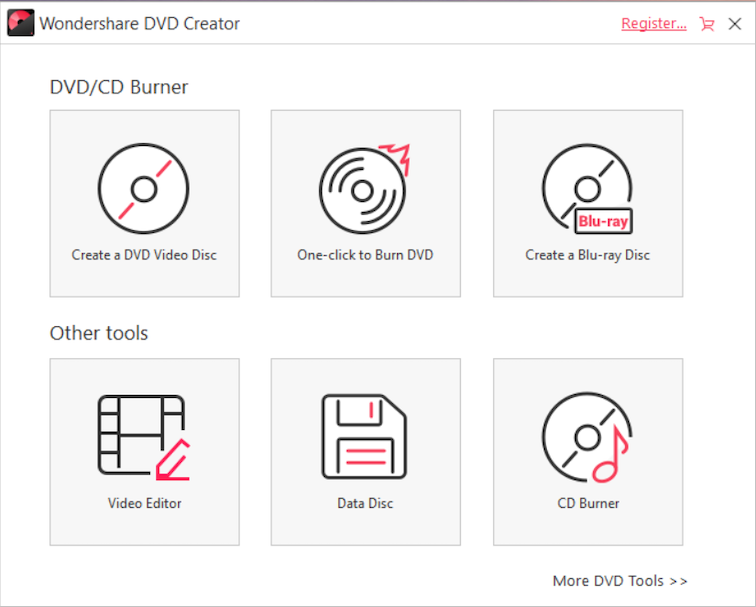
As you can see, there are many options available for your specific purpose. Based on your request, you may click on one of the buttons to proceed. Here we take “Create a DVD Video Disc” as an example. Once you’ve clicked the specific, you will get this screen which leads us to the next step.
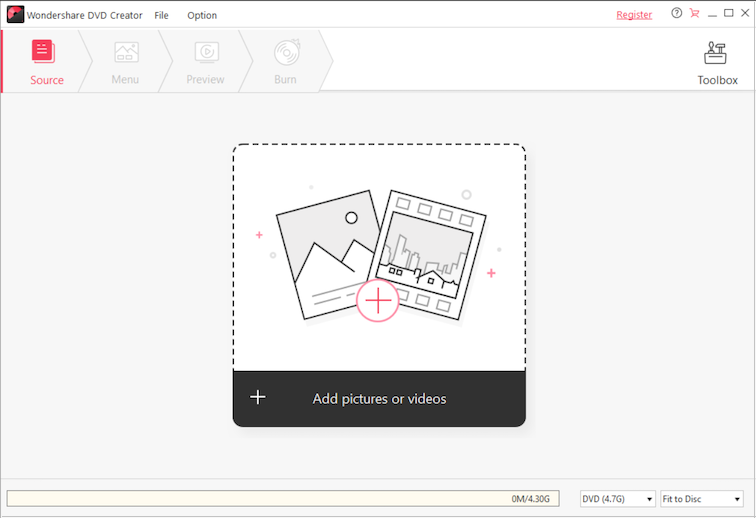
Simply click on the “+ Add pictures or videos” area you will be able to locate the files that need to be burnt on a DVD disc. For example, I really want to burn a movie onto a DVD disc, I click on the “+”button, locate the movie and import it into the software. Now, we get a screen like this:
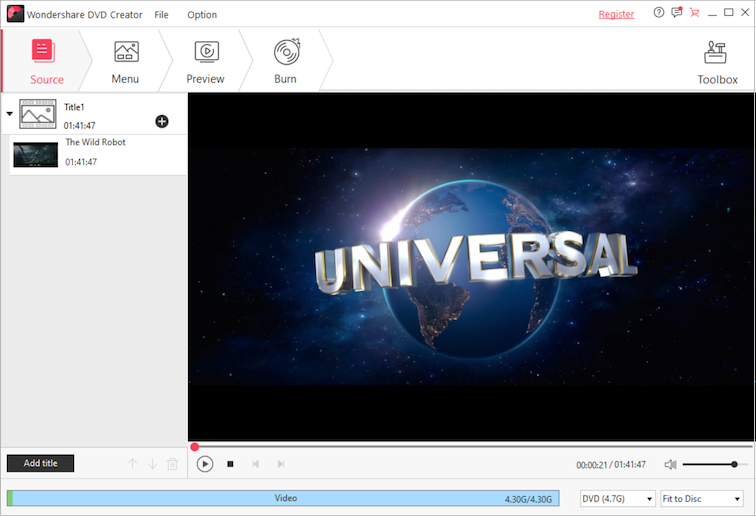
At this interface of DVD Creator, you can do lots of things. As you can see, on the left side of the software there is a thumbnail of the movie, double click on it will enable you to preview the movie. Click on the Edit button or right click on the thumbnail you will be able to edit the video.

As we mentioned above that we can edit files before the burning process, here is the instruction of how to do that exactly. Please be aware that this step is totally up to you, you don’t have to edit your video. So if there’s no need, you can simply jump to the next step. So, here’s the editing interface:
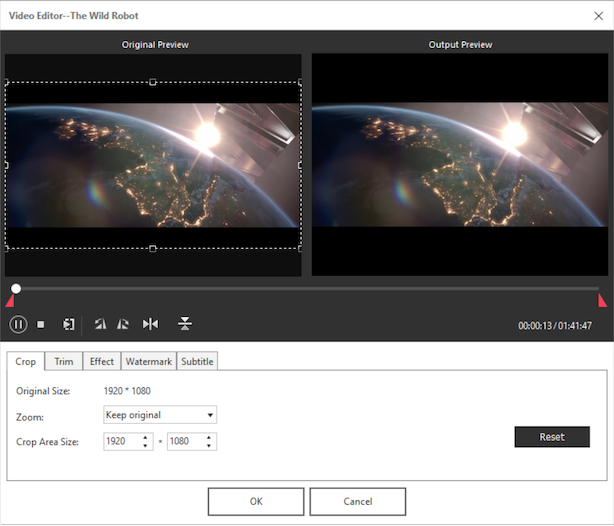
This DVD Creator provides several editing options: Crop, Trim, Effect, Watermark and Subtitle. Just try them out.
Again, this is another step that you may find unnecessary. If that is the case, move to the next step. Now click on the “Menu” tab on the program’s upper right interface. By doing so, DVD Creator will show you some recommended DVD menus that are built in the software. You may double click on either of them to be your DVD disc menu. Besides, you may click on the download arrow to download many other free DVD menu templates.
Also, you are able to set up the frame of the video or use some of your own photos as your DVD menu background. This DVD Creator allows you to select one of your favorite songs as the DVD menu background music.
Finally, you may name the DVD disc and add any texts to the menu. Oh, you will also be able to create chapters and customize thumbnails if you need that.
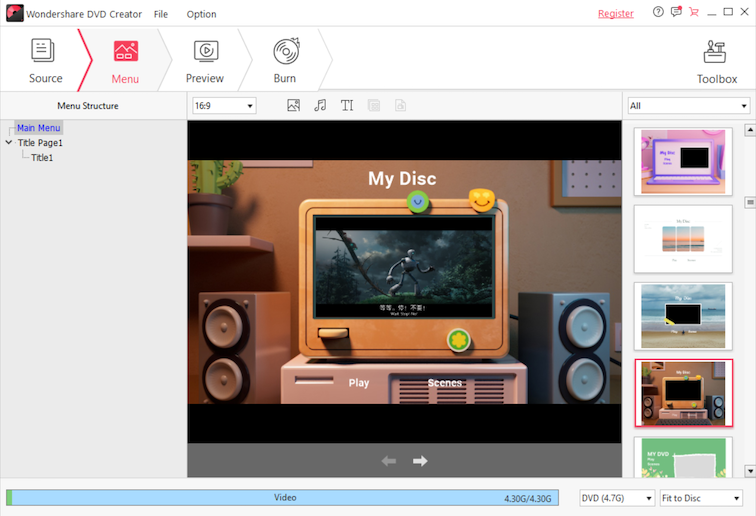
Suppose you have completed all settings, now you may click on Preview button and you will get a screen like this:
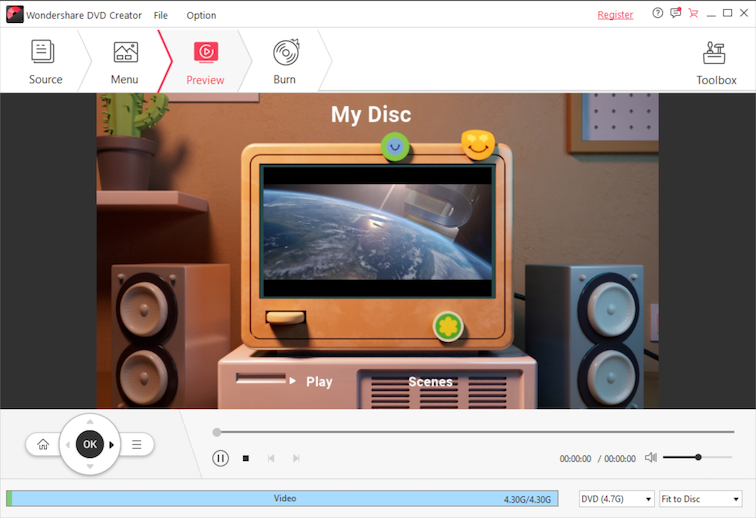
This is a view that your DVD disc may look like when you play it on a DVD player or computer.
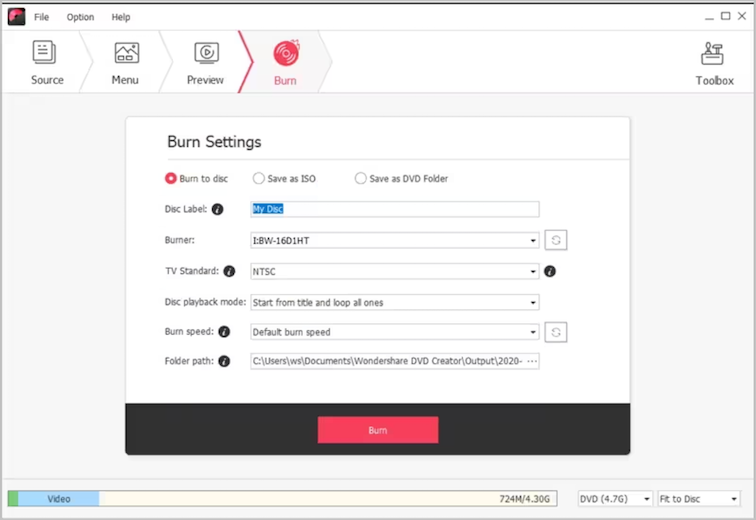
Here comes the last step, we are almost done. Click on the Burn tab, check the settings, and click on the Burn at the bottom. If you haven’t inserted a blank DVD disc into your DVD burner, now’s the time. To burn a standard DVD, you may choose DVD (4.7G) or DVD DL (8.5G). According to your DVD capacity, you may select the DVD quality from Standard and High.
Wanna burn a Blu-ray disc, DVD Creator can also do the trick. Both BD (25G) and BD DL (50G) are supported. Have fun.
Supported Input Formats
|
Standard Video
|
AVI, DV, NUT, FLV, MP4, M4V, 3GP, 3G2, MOV, MPG,
MPEG, VOB, DAT, TP, WMV, ASF,
DVR-MS, MOD, TOD, RM, RMVB( when RealPlayer installed )
|
|
HD Video
|
HD AVI (VC-1, MPEG-4), MTS/M2TS/TS/TRP (AVHD
, VC-1, MPEG-2 HD),
HD WMV (VC-1, WMV HD), HD MKV (), HD MOV (), HD MPG (MPEG-2 HD), HD MP4 (, XviD) |
Supported Output Formats
|
DVD
|
DVD Disc, Blu-ray Disc, ISO, DVD Folder
|
System Requirements
|
OS
|
Windows 11, Windows 10, Windows 2003/XP/Windows Vista/Windows 7/Windows 8
|
|
Free Hard Drive Space
|
100 MB or more
|
|
CPU
|
750MHz Intel or AMD CPU
|
|
RAM
|
256 MB or above
|
- How to Convert MP4(MPEG-4) to DVD on Mac/Windows?
- How to Convert WMV to DVD on Mac/Windows?
- How to Convert MOV to DVD on Mac/Windows?
- How to Convert AVI Movies to DVD on Mac/Win?
- How to Convert MPEG to DVD on Mac/Windows?
- How to convert MKV to DVD with superb quality?
- How to Convert iPad Air Videos onto a DVD disc?
- How to Make a DVD from iPhone Shoot Videos?

