"How to burn iPad Air videos to DVD disc? I’ve recorded some stuff from my iPad Air tablet and I’ve burnt a DVD. But the thing is it will play on my computer but not my DVD player. How to burn DVD’s to play on DVD player? What format should the file be to be played on a DVD player? Thanks."
In terms of burning videos to DVD, we are talking of two different kinds of disc: Data disc and Video DVD disc. Apple iPad Air records videos in MOV format. If you just copy and paste them onto a blank DVD disc, you will get a data disc. A data DVD disc may play on a computer’s DVD drive fine, but not on a home DVD player. If you are trying to make a DVD disc that can be played on any stand-alone DVD player, then you will need to burn a video DVD disc. So to speak, in order to burn a DVD from iPad Air videos for common DVD players’ playback, you will need to authorize the DVD with a DVD burning program.
Part 1. How to burn DVD from iPad Air videos onto DVD?
DVD Creator is one of the best and most professional iPad Videos to DVD Disc Burner which is able to convert and burn iPad recorded and purchased videos into a DVD disc that can be played on any home DVD player. Moreover, it offers video editing, menu creating and many other useful features. Check out the step-by-step guide below to learn how to easily convert videos from iPad Air to DVD and watch iPad Air movies on TV today.
Download a DVD authoring app is a must in order to burn videos DVDs successfully. Here we provide both Windows and Mac DVD Creator so that you can burn videos to DVD disc on either Windows or Mac according to your specific need. Click the link below to download the set-up file and then follow on-screen instructions to get it installed on your computer.

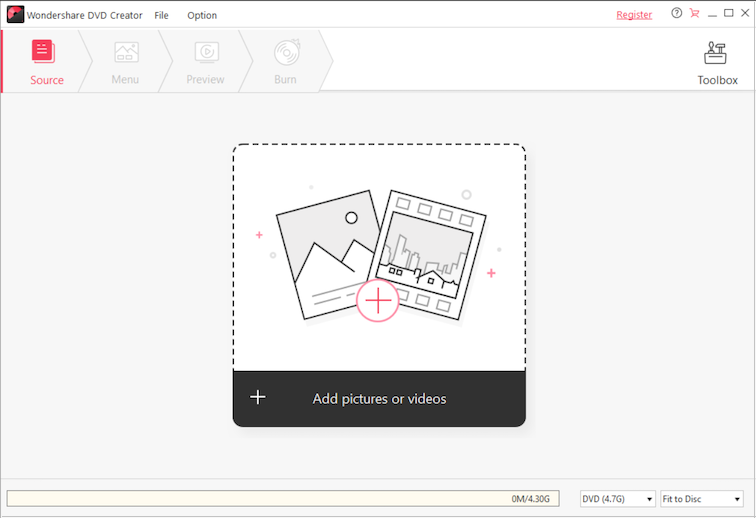
Suppose you have launched the software, click on “+Import” button under Source tab. This allows you to go to the file folder where you downloaded the iPad Air files. Choose those you’ve like to burn onto DVD disc and add them into the program. This tool is able to burn both videos and photos. You can even combine them into a single DVD disc. Apart from iPad Air MOV, a lot of other file formats are also supported.

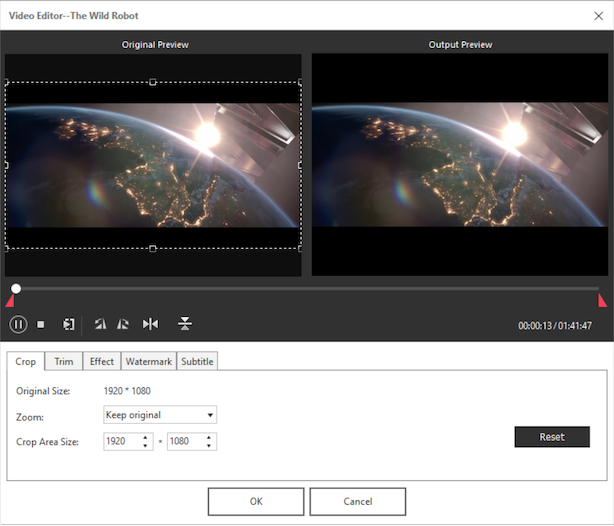
Edit Videos: If you are thinking about editing your files before burning, you may hit on the pencil like button right next to the video thumbnail. In the new window, you can crop, trim and do some other editing to your movie.
DVD Menu: If you click on “Menu” tab, you will find there are various built-in DVD menu styles including both static and animated ones. If you want a menu for the DVD disc, select one of your favorite among them. Besides, you can even personalize the DVD menu with your own photos and songs.

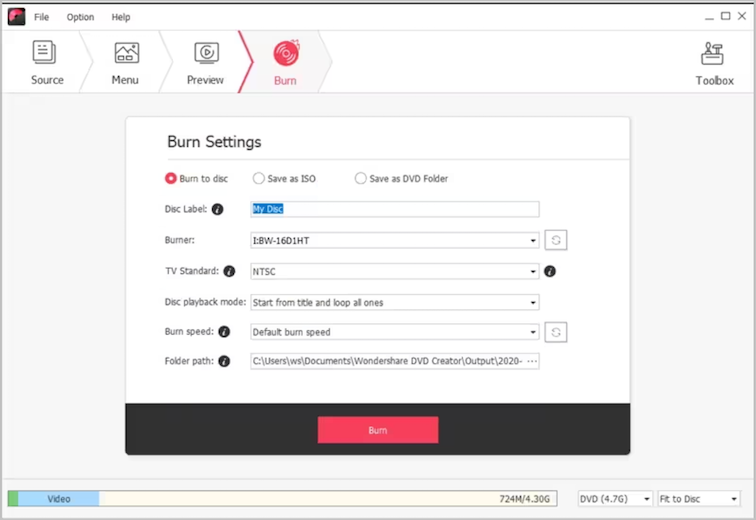
Finished all above settings, here you may click on “Burn” tab, insert a blank DVD disc to your computer’s DVD burner and start burning iPad Air movies to DVD format.

The burning process may take a while. Once done, the disc will be rejected automatically. Then you can take the DVD and watch it on your home DVD player with families. Have fun. Learn more about this DVD Creator for iPad Air Videos.
Part 2. How to transfer videos from an iPad Air to computer(For Windows PC)?
1. Using a USB Cable
• Connect your iPad to your computer using a USB cable.
• Unlock your iPad and tap “Trust This Computer” if prompted.
• Open File Explorer on your PC.
• Locate your iPad under “This PC” or “Devices and Drives.”
• Navigate to DCIM folder where videos and photos are stored.
• Copy and paste the desired videos to your computer.
2. Using iCloud
• On your iPad, enable iCloud Photos:
• Go to Settings > [Your Name] > iCloud > Photos and turn on iCloud Photos.
• On your PC:
• Download and install iCloud for Windows.
• Sign in with your Apple ID, and ensure Photos is enabled in iCloud settings.
• Open the iCloud Photos folder on your PC to access your videos.
Part 3. How to transfer videos from an iPad Air to computer(For Mac)?
1. Using Finder or Photos App (macOS Catalina or later)
• Connect your iPad Air to your Mac using a USB cable.
• Open Finder and select your iPad in the sidebar.
• Alternatively, open the Photos app to import videos directly.
2. Using AirDrop
• Ensure both your iPad and Mac have AirDrop enabled:
• On iPad: Go to Control Center > AirDrop > Everyone or Contacts Only.
• On Mac: Open Finder > AirDrop and ensure visibility is set.
• Select the videos on your iPad and tap the Share button. Choose your Mac from the AirDrop options.
3. Using iCloud
• Follow the same iCloud process as outlined above for Windows PCs.
Part 4. Some other methods for transferring videos from an iPad Air to your computer.
1. Email or Cloud Services (Google Drive, Dropbox)
• Upload videos to a cloud service or send them via email.
• Download them to your computer.
2. Third-Party Software
• Tools like iMazing, AnyTrans, or similar apps can simplify transferring videos between your iPad and computer.


